Sunday, October 23, 2011

Yarn Guides

 The very first sweater I ever made was a multi-colored Norwegian, at the tender age of eight years old. It still fits!
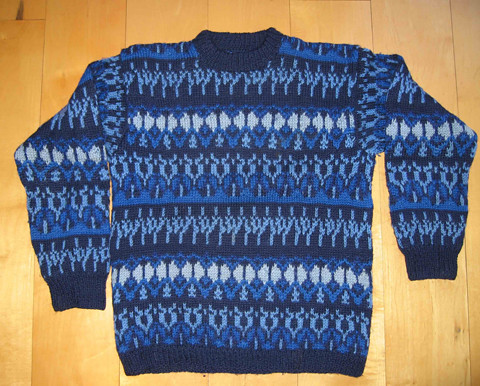

My mother ordered a kit from Norway, because in those long-ago days, yarn selection was limited, and the color range was even worse. Knitters of a certain age will recall, and not fondly, that odd brick red and the peculiar pea-soup green that were all the rage back in the Fifties...

I remember being entranced when the package arrived—what lovely shades of clear blue! The yarns were a somewhat harsh worsted weight and the directions copious—lots of diagrams, pictures, charts, arrows, and paragraphs of explanation. Too bad they were all in Norwegian. 
Fortunately, a neighboring couple hailed from the Old Country. I used to spend many afternoons in their kitchen appraising traditional Norwegian cookies (Delicious!) and avoiding traditional Norwegian Lutefisk (Not Delicious!). Made from dried whitefish and lye, Lutefisk has a repulsive gelatinous texture and an indescribable odor. The only substance that can approach Lutefisk is a dried Japanese fish called Aji, whose aroma is so, um, ghastly that as soon as I saw the depressing little flatfish being removed from the freezer where we lived in Japan, I slunk out to the bus stop and had dinner in town.

Anyway, my mother and I hiked down to the Jensens’ with the pattern and yarn, and Mrs. Jensen explained, partly in Norwegian with lots of gestures, how to make the sweater. Following the directions included learning Norwegian purling and knitting with one yarn in the right hand. I found it awkward and annoying, but persevered, and after a while, the sweater was finished and I had a working knowledge of knitting English-style. I never did figure out how to purl that way. 


Over the years, when confronted with multiple colors, I defaulted to the two-handed method. I still found it awkward and annoying, so a few weeks ago, I decided it was time to master the one-handed technique, that is, knitting with two colors in my left hand. 

I dutifully watched all the YouTube videos, and was amazed at how easy it looked. However, to my great annoyance, the actual trick of winding the yarns onto the fingers for tensioning was always performed at The Speed of Light, or the camera was focused on the knitting instead of the hands, or someone smeared Vaseline on the camera lens as soon as it moved over to record the tensioning trick.

NOTE: If a Two-Color-Left-Hand video knitter is reading this, please repost the video with a slo-mo of the tensioning step. Yeah! Thanks!

I spent a week tangling the yarn around various fingers. At one point, I somehow wrapped the yarns in such a way that I created one of those Chinese Finger Trap toy thingies. Harry snickered, Laptop rolled her eyes, Rambo flipped her ears, and I said things that cannot be written in this blog because it’s G-Rated and I am not supposed to know those words, anyway. Roy was out of the house, so I was at least spared his chortling.

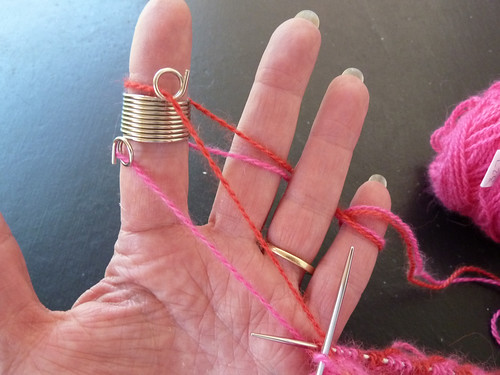
After snipping the yarns off my fingers, I threw in the metaphorical towel and went hunting for The Knitting Accessory of Shame, purchased years ago and never actually used beyond a brief, and unsuccessful, trial period. I finally located the thing in a cigar box full of straws (don’t ask), placed it on the index finger of my left hand, and, after a few minutes of practice, discovered that it actually worked quite well. It’s liberating!
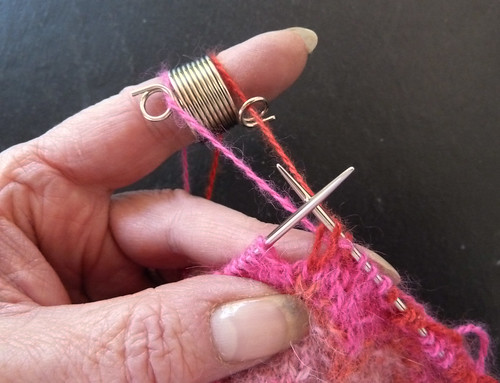


For comparison, I bought the KnitPicks version—it’s a plastic ring with dividers—lightweight and rather cleverly designed.
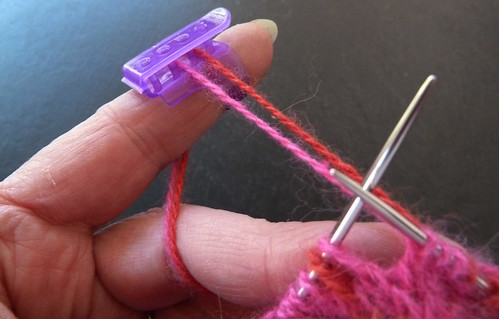

The trick to using these yarn guides is to practice with a single yarn first, before adding the second one. Each guide has a sweet spot on your finger—you’ll have to experiment and find the position that suits you best. For example, the metal guide’s picture always shows it sitting straight up, with the yarns coming off the top. For me, turning the rings so that they face front worked much better. I also found that putting the yarns on the floor was a great help—the slight gravitational pull prevented the yarns from tangling.

The KnitPick’s guide is very tight and the plastic edge a bit sharp. I’m probably going to give it a coating of nail polish to smooth it out and hope that using it loosens the band a little. People with large fingers may have to pre-stretch it on something—a wooden dowel, for example-- before it fits comfortably.

I realize that Real Knitters don’t use yarn guides and that yarn guides cannot be taken to S&B’s because everyone will laugh at you or give you that pitying, condescending look implying you also use training wheels on your bike and sometimes knit with acrylic. So, the answer is to take one-color knitting to the S&B and in the privacy of your home, create lovely Fair Isle, Scandinavian, Estonian, and Bohus colorwork with perfectly even tension at a speed only slightly slower than a single color.
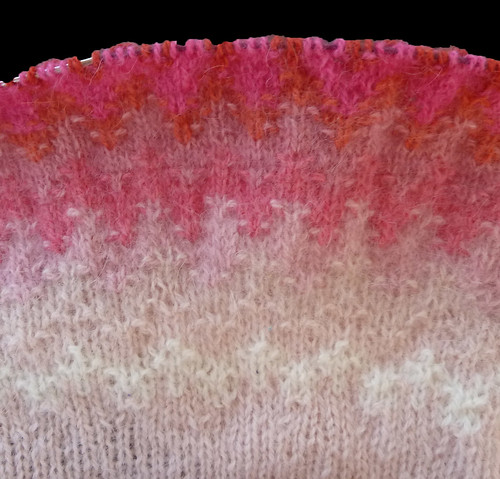
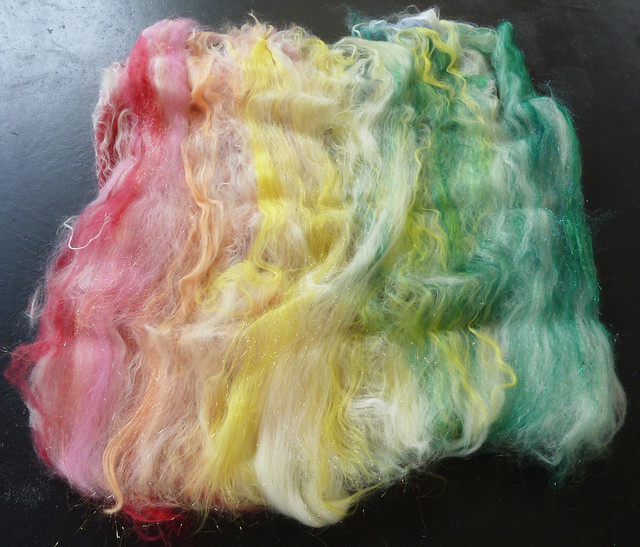
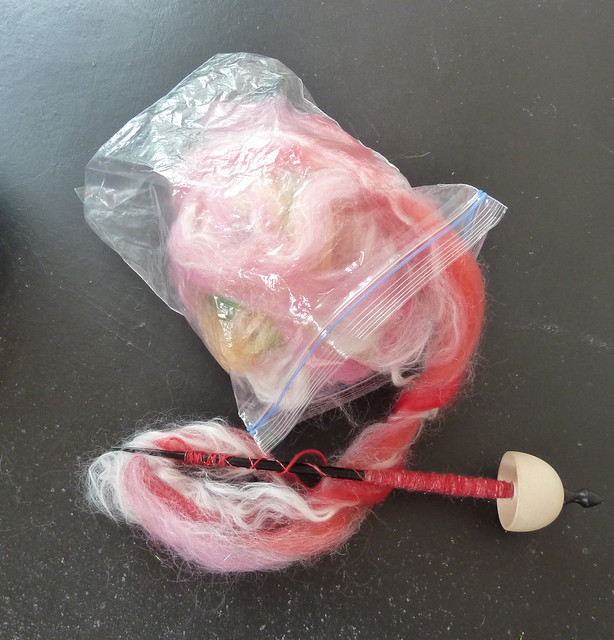
Pink Sago Palm Bohus from http://www.solsilke.se/


Friday, August 19, 2011

May Queen Mystery Shawl

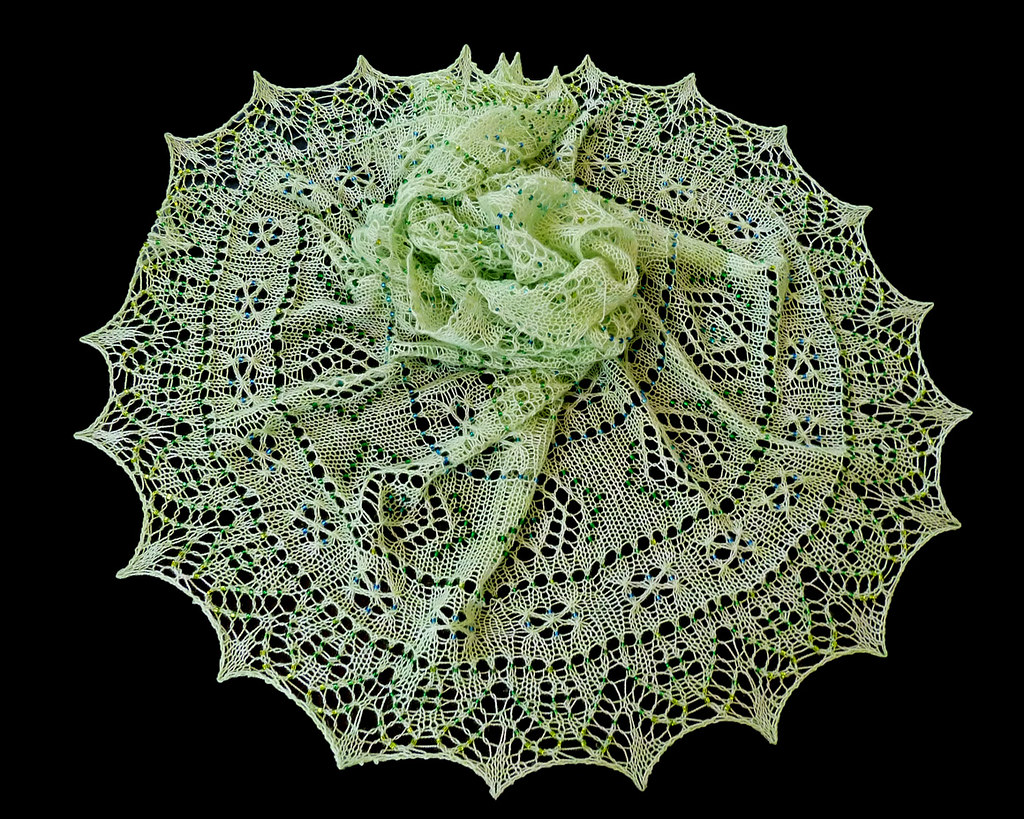
A sweet knit from Tiziana, the May Queen started out as a mystery shawl from one of my favorite designers. The pattern is quite easy, so I thought I would experiment with my very own Firebird yarn and some colored bead sequences. Unfortunately, the #8 beads were really too small to show off my clever gradients and could hardly even be seen at normal viewing distance. But the beads were an adventure, and rather than writing about the perils of using ten different colors of teeny, tiny, round, bouncy, exuberant objects, I shameless quote kath1996's description (with her kind permission) of her own interaction with the little rascals. The experience closely mirror my own except that she used a single color, so you can multiply this scary scenario tenfold:

First you open the container with the beads, then you pick up the ten or so beads that always drop out of the container while you are trying to carefully open it…then you spill a small amount out into another dish or container so as not to have the whole container open in case the cats knock it over, then you hit the new dish of beads with your elbow and knock them all to the floor (where they roll under everything and cause you to grab a flashlight and crawl around with your nose almost dragging on the floor while you search every place for the blankity blank little suckers), then you get back on your feet, set the dish down with satisfaction, certain that you have every bead back in the dish, and tip over the original container scattering the beads everywhere. Now these beads can fly…so they make it into every room in your house (except for those ten over there that somehow managed to get through the window and are now outside). I would tell you not to worry about them, except that I can tell you for sure that you will be exactly ten beads short on the project…(and no matter how hard you look you will never find those beads again). At this point you could try the old tried-and-not-true method of vacuuming up the beads…but this only sounds good on paper…your vacuum will only further scatter the beads making it impossible to ever find them again. Ooooh, look over there, isn’t that the cat eating the beads? Yep…and she seems to be turning a bit blue….off to the vet.
 
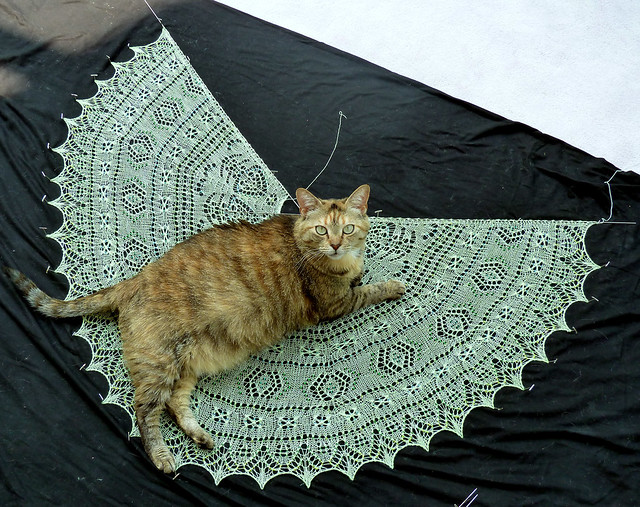
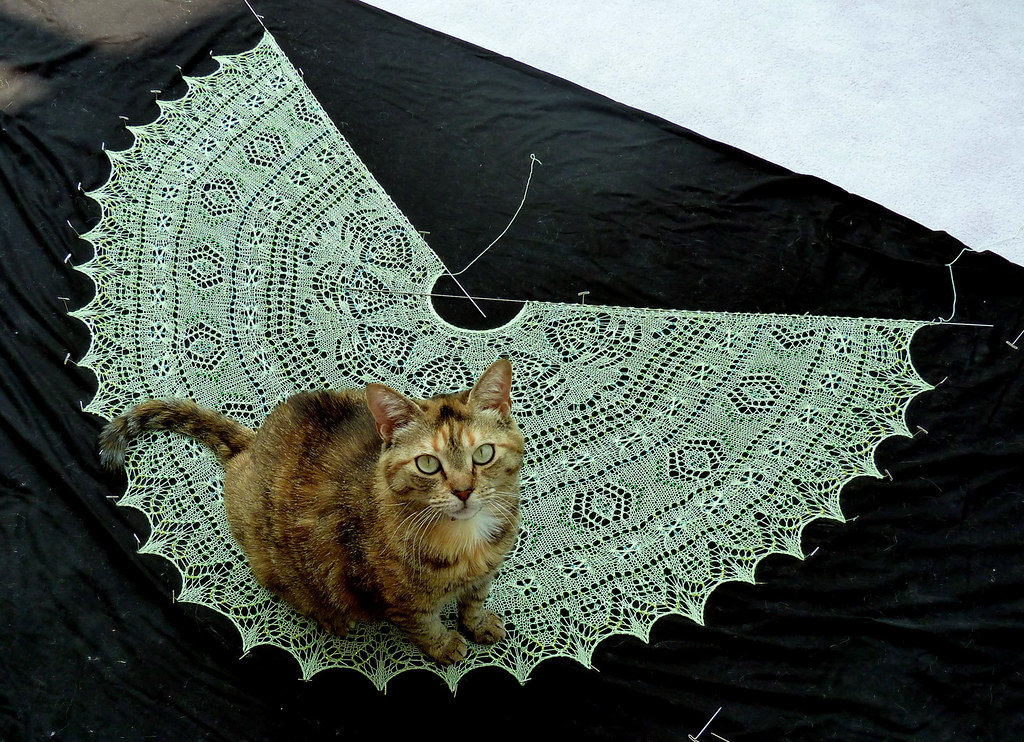
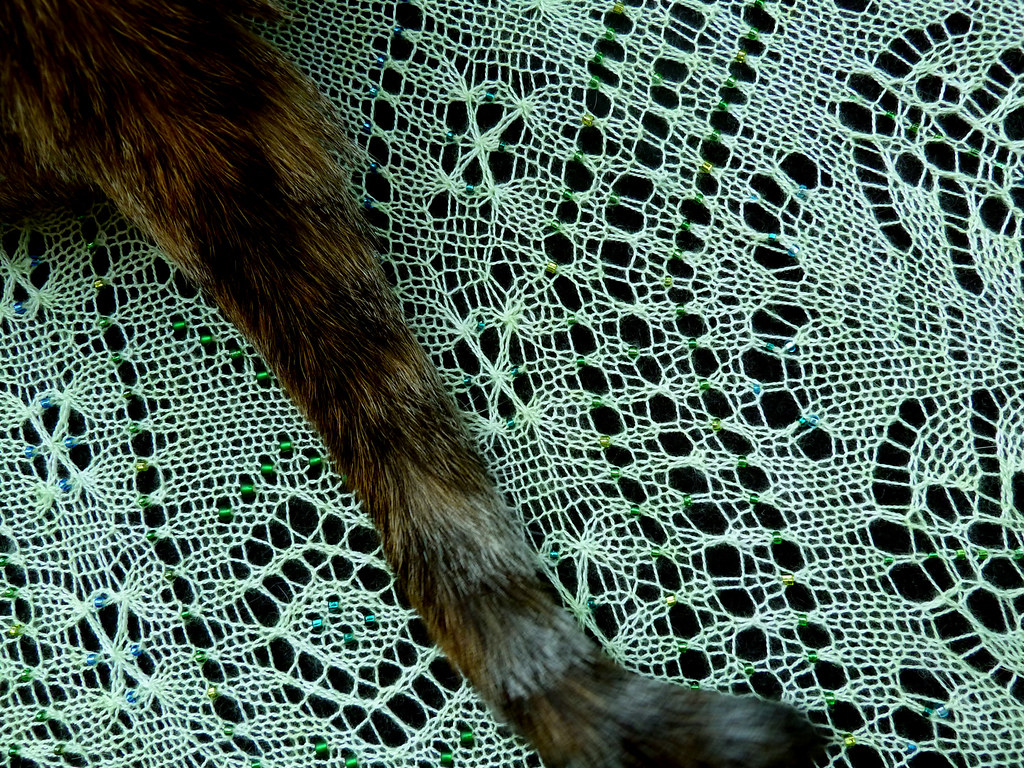
Laptop is a little too finicky to eat beads, but that did not deter her from Getting In The Way from the beginning to the end of this shawl. I can't figure out the attraction--Firebird is odorless, the color is not red (which she finds attractive), and it doesn't resemble either a hamster or the ugly brown scarf thing she enjoys cuddling. I couldn't get her off my lap for the entire project, and, as you can see, once the project was completed, she claimed complete possession, beads and all.


Attempts to remove her were met with The Look:


And she followed up The Look with The Snooze:


A few hours later, I filled her food bowl--a guaranteed draw--and snapped a few Laptop-less photos:


Well, almost...


Tuesday, August 2, 2011

Batt Editing--Part 2

Readers of this blog probably know how much I love glitz, but many battmeisters eschew such additives for a variety of reasons. Anna of Corgi Hill decided against working with Angelina fiber after a bag of it exploded and left her, well, rather sparkly. Others feel that Firestar (trilobal nylon) and Angelina are scratchy. And some feel glittery yarn is somehow undignified.

Not me! I love to spin with glitz, I love to knit with glitz, and search out batts containing glitz, preferably in high concentrations. So it should come as no surprise that I figured out a simple way to add sparkle to batts that lack what I consider an essential ingredient.

If you paid attention to my first Batt Editing post, you might recall that I showed you how to split a batt into two layers. But if not, let me show you again.

Here we have a perfectly lovely example of a glitz-less batt from the immensely talented Zauberzeug :


I carefully peel the two layers apart...


...and sprinkle the bottom layer with Angelina:


Just flop the top layer back on the bottom layer:


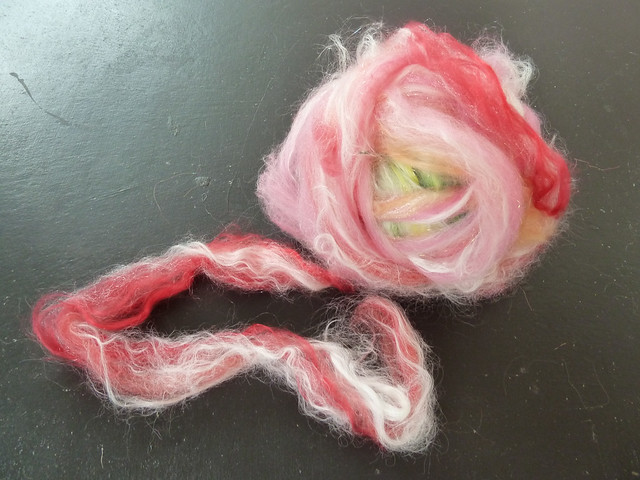
And roll it back up:


Needless to say, you can use this technique to add anything you might want to spin--strands of silk, Firestar, exotic fibers of which you only have a tiny bit, or slices of pepperoni, and so on. 

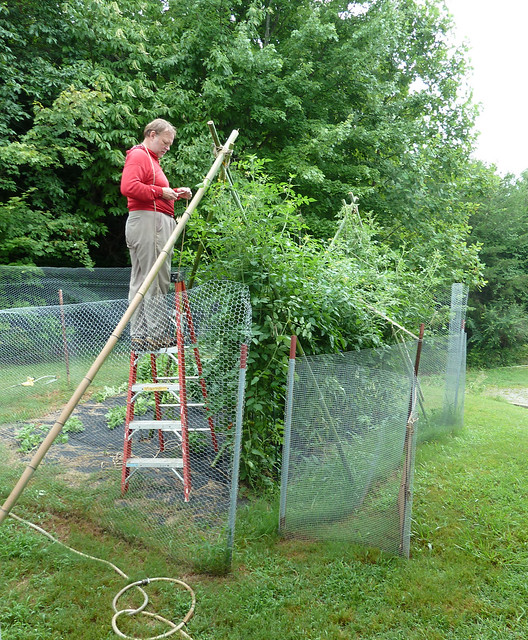
On another note, I promised you some killer tomatoes, so I would be remiss if I didn't include a photo, taken several weeks ago. At that time, the plants were approaching 11 feet in height, and had outgrown our double stack of tomato cages by a wide margin.


Roy, who was an Eagle Scout and knows how to do things like assemble tripods, crafted several out of our very own bamboo and is seen in the above photo tying one of the plants, fondly named Terminator One, onto the supports. I should add that the plants are now over 14 feet tall, although we are training them down the supports, because we don't have a taller stepladder and would feel idiotic trying to harvest our crop by tossing rocks at the fruit.

Last year we planted four plants, three of which promptly died. The survivor barely attained a meter in height and spent the entire summer generating six puny tomatoes. This year, we figure to harvest about 200 pounds of fruit from the four plants that were really cute when we plopped them into the soil but now consume a cow a day and we'd better be on time with the feeding....


Monday, July 18, 2011

Knitting with the iPad


I mostly love my iPad, but I wish someone would write the perfect knitting app. The iTunes store has quite a large handful--counters, project managers, books--but none of them is The Killer Knitting App. Recently, a new program appeared that would seem, from reading the PR, to fulfill my KKA requirements. Errrgh. It was expensive and clumsy to use, and a regrettable expenditure. I won't mention the name, lest I generate hate mail or lawsuits, so instead of whining about The-App-That-May-Not Be-Named, I'm going to show you how to use a program called iAnnotate to work with knitting patterns on an iPad.

Basically, iAnnotate lets you download, read, annotate, organize, and send PDF files. I think it's more flexible for PDFs than GoodReader, but it's also twice the price--$10 vs. $5. GoodReader's advantage is its ability to read multiple formats, so it can handle Word and Excel docs, as well as PDFs. GoodReader's tool set isn't as robust as iAnnotate's, though, so I prefer the latter to the former.


First of all, let's go get a PDF. iAnnotate has a built-in web browser that let's you:

  • Convert a web page to a PDF and download it--useful for grabbing Knitty patterns
  • Get patterns from DropBox
  • Navigate to a PDF in your Ravelry library and download it directly
  • Download patterns directly from your Ravelry library via WebDav (a protocol that allows collaboration between users and websites for editing and managing documents and files)
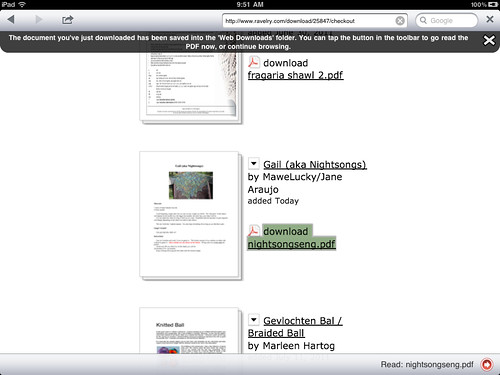
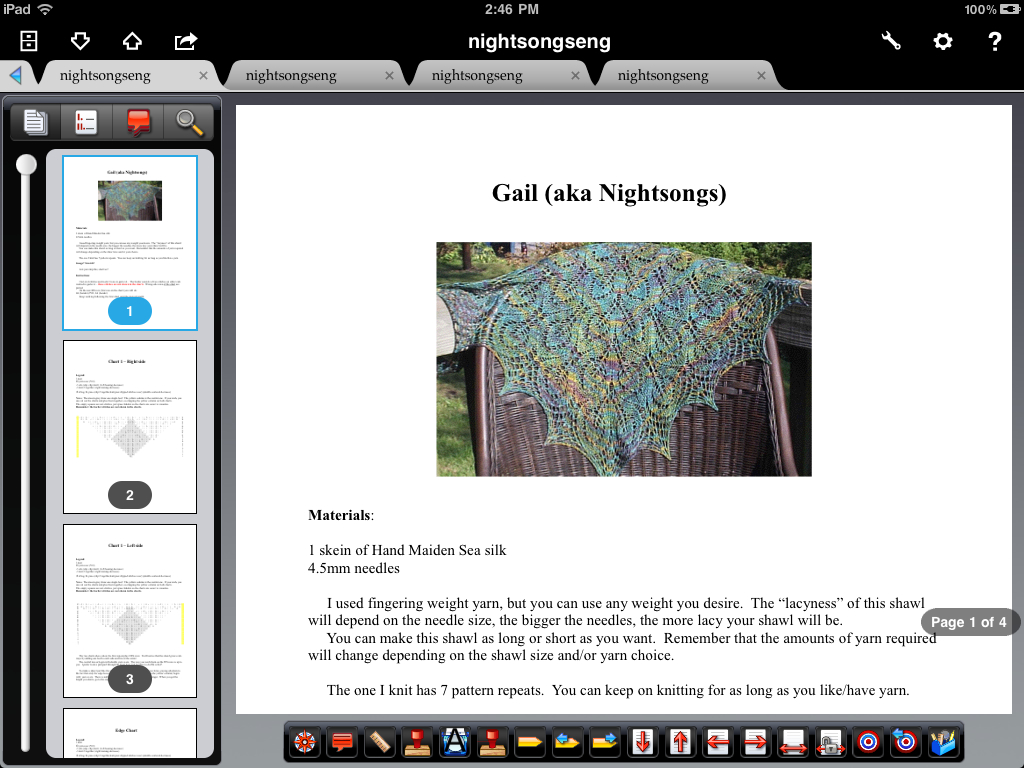
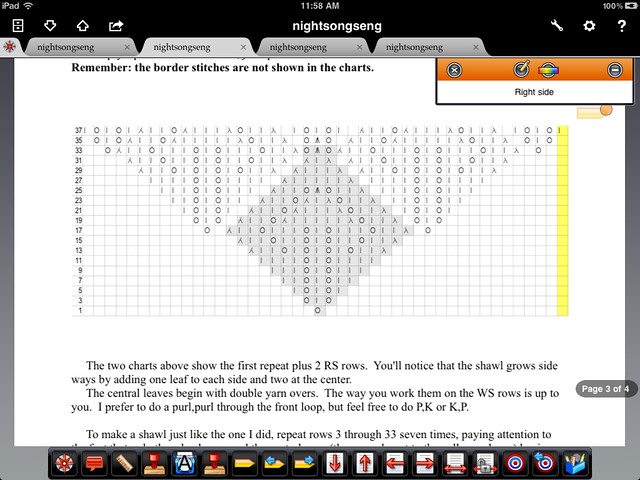
In the image below, I've navigated, via iAnnotate's built-in browser, to Mawelucky's gorgeous Gail (aka Nightsongs) shawl (Free!) that's stored in my Ravelry PDF library.


I clicked on the download link...


...closed the browser, and opened the file via iAnnotate's File Organizer screen.


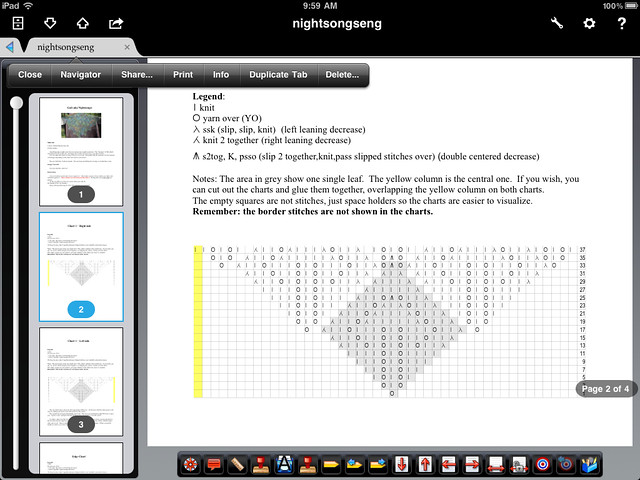
iAnnotate supports multiple tabs, and more importantly, let's you duplicate tabs, so let's play with these. Click on the tab and you'll see a little bar underneath that shows buttons for tab management--Close, Navigator, Share, Duplicate, and so on.


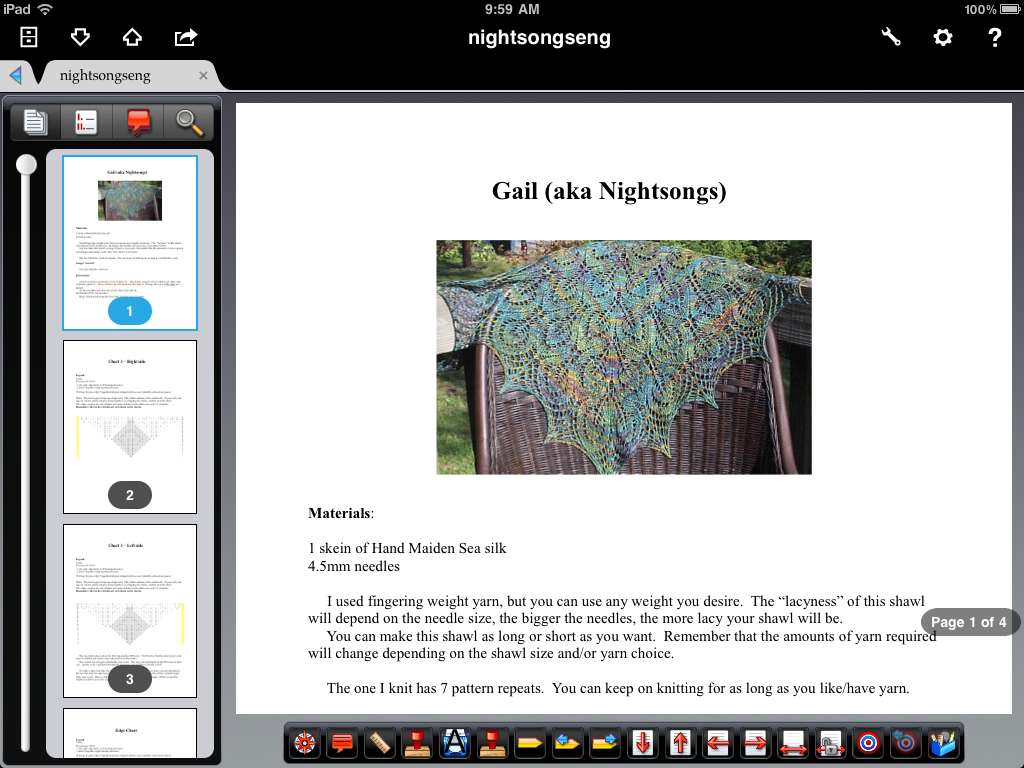
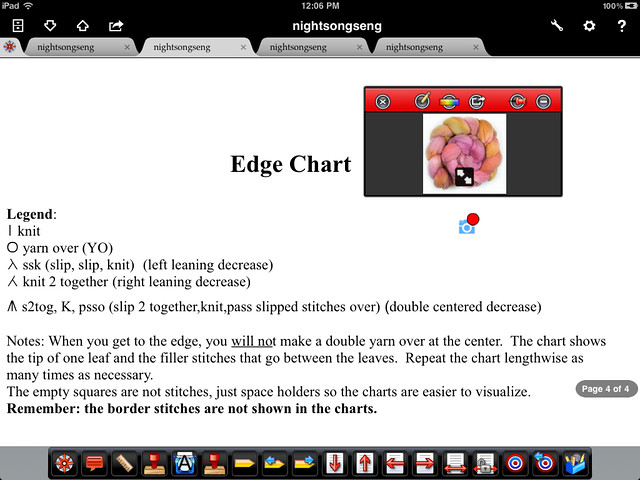
This pattern only has four pages and three charts, so I set up four tabs. The first tab is the intro text; the other three pages hold the charts. There were no surprises in the pattern's Stitch Key, so I didn't bother giving it a separate tab.


As you can see, there's a handy thumbnail panel on the left that can be collapsed when not needed. You can use the panel to whip through your document by page, bookmark, annotation, or outline, or use the toolbar buttons to navigate bookmarks and pages.


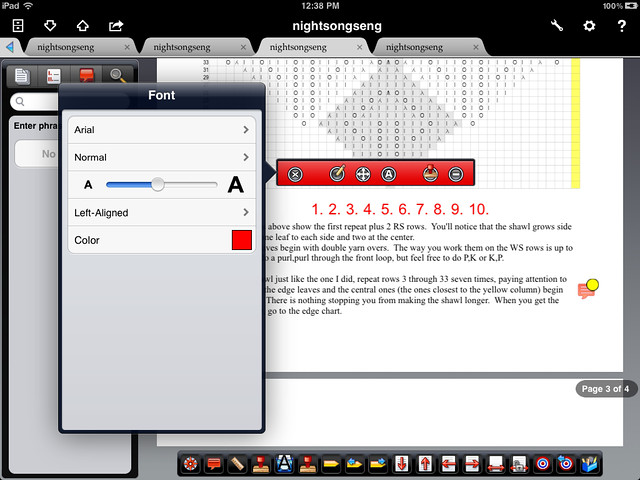
Given the name of the app. it's no surprise that there are lots of tools for annotation-- pen, highlighter, typewriter, stamps, notes, straight line, underline, strikethrough, photos, voice recording, and date stamp.You can easily customize your tools, for example, create a set of custom highlighters, import your own stamps (such as a signature), set a custom typewriter color and font, and convert an annotation into a stamp. The only thing missing is a rectangle; GoodReader has one and it's useful. Oh well.

One of the nicest features of iAnnotate is the configurable toolbars. the app has a rather overwhelming number of features, so I made a Knitting toolbar (shown at the bottom of the previous picture) that holds commands I use frequently: Note, Line, Stamp, Typewriter, Bookmark, and so on.You can easily drag and drop what you need into your toolbar, which can then be repositioned and resized as you see fit. You can have multiple toolbars on the page, for example, a set of navigation tools at the top and some highlighters on the bottom.

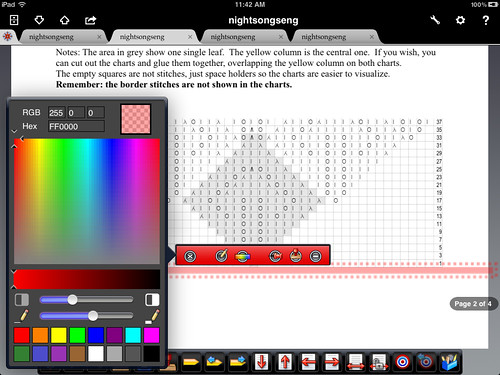
For some odd reason, you can only highlight text, not images. I like to use charts, so I made a highlighter line to pinpoint my place in the chart. I used the Line tool to draw a long line...

.
...then made it thicker and partially transparent.


You can make the annotation into a stamp if you like, but stamps can only be resized and rotated once in the library. Adjusting the highlight is easy--just tap and slide it to move it up and down.

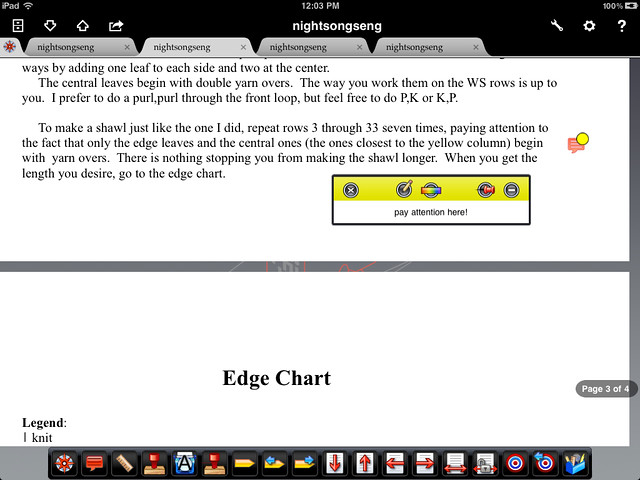
You can also add a text annotation to the highlight drawing. Notice the annotation can stay open and pinned to a specific place on the page.


Similarly, you can highlight text, and add notes, sound recordings, or images as annotations. The latter is particularly useful if you need to refer to a knitted sample or suggested yarn.


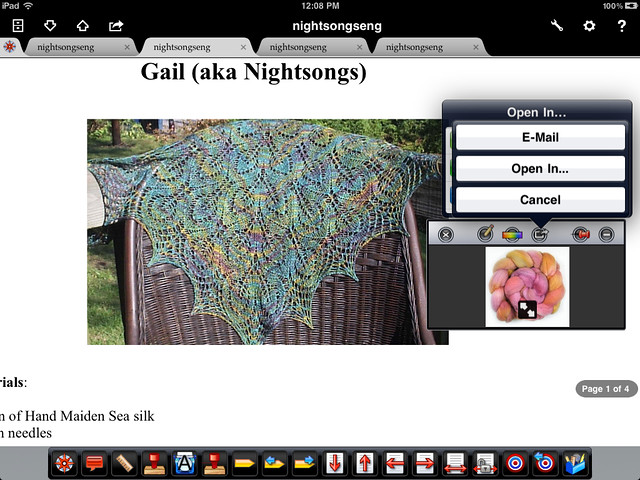
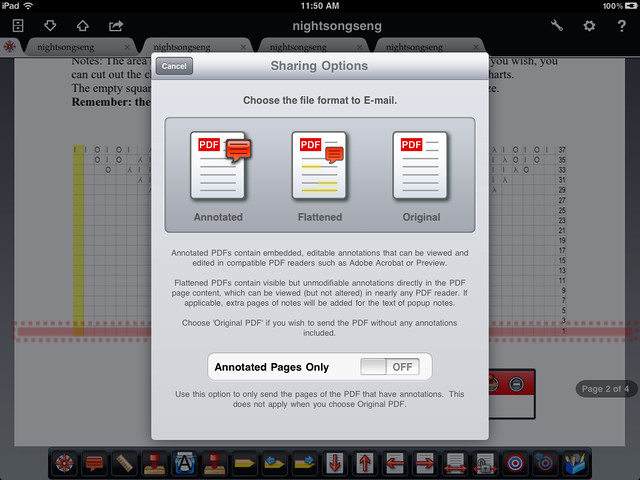
Photos may also be emailed right from iAnnotate...


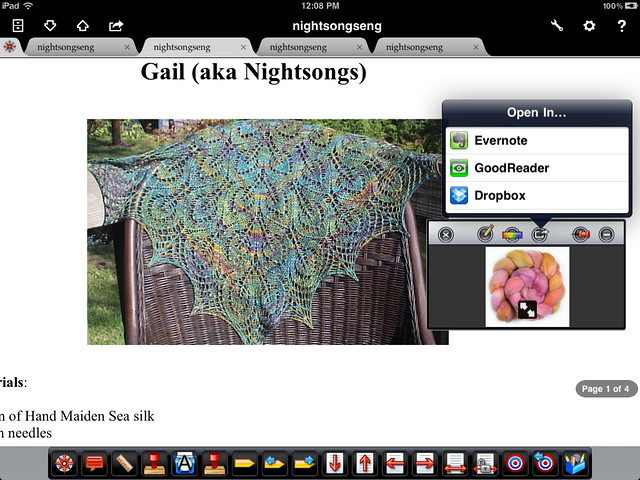
...or you can send the Photo to another program, such as DropBox.


There are several options for hopping around the PDF. I like the temporary Mark--it's a quick bookmark that holds only a single location. It's very useful for flipping back to a specific place, such as a text description, while you are studying a chart in another tab.


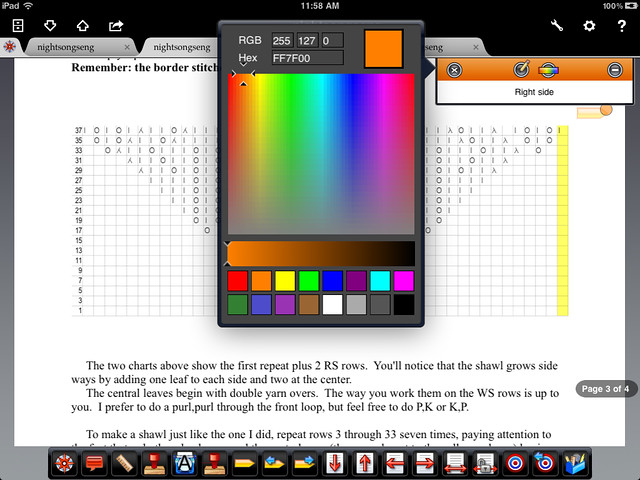
You can also set as many permanent bookmarks as you like, and these can be color-coded to indicate various sections of the pattern (or various testers):


I have Next/Previous Bookmark tools in my toolbar, but if there are a lot of them, open the side panel and tap the desired bookmark.


Your notes, annotations, and drawings may be sent along with the file via email--convenient for test knitters who need to send information back to the designer:


And if you're working on a KAL or test-driving a pattern, you can clip out a problem area of the PDF and send just that section:


As for stitch counters...well, there are a few things you can do to keep track:
  • You can double-click click out of iAnnotate and switch to your counter app in the bottom tray...ugly, but workable.
  • Use iAnnotate's Typewriter tool to type in numbers and the text editor to mark them in meaningful way.

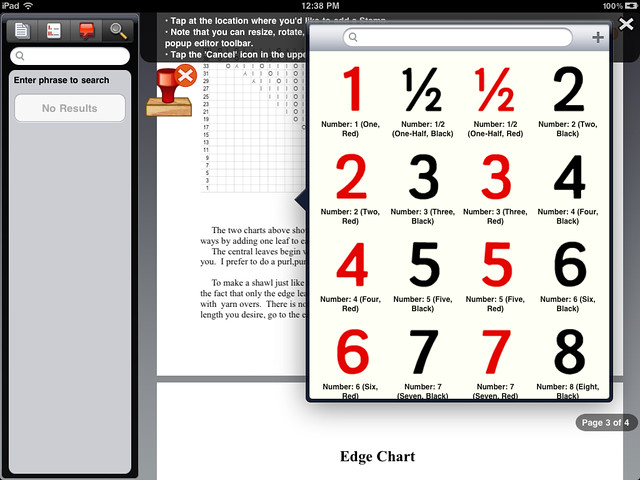
  • Use one of the number stamps.

  • Mark repeats on your hand with an indelible marker.
  • Line up M&Ms in some predefined increment and eat one at the end of a row. 
Until Apple allows dual panes so we can have a counter in one window and the chart in another, we're stuck with workarounds (or buying the expensive App-That-May-Not Be-Named, which sort of works...don't get me started on that thing).

There are lots of other features in iAnnotate, not the least of which is the ability to rotate pages, add blank pages, and delete pages you don't need.

 
Printing from iAnnotate, like any other iPad app, depends on your accoutrements and pocketbook. There are any number of printing apps in the iTunes store--they run between $5 and $10. If you have an AirPrint-enabled printer (currently implemented on some HP printers), you can use that feature. Rather than invest money in a separate printing app, I just email the document to myself and print it from my laptop.

iAnnotate has a few silly quirks that I hope will be fixed in an update. You can only highlight text, and all knitting charts are images--the workaround is the Stamp--but it would be nice to be able to directly mark a stitch or row with a finger swipe. You can lock a page horizontally but not vertically. It's awfully easy to inadvertently tap the display and slide to another page. No biggie, but it would be helpful to be able to freeze the page.

 Next time: The Attack of The Killer Tomatoes, right here in fleegleland!

Monday, July 11, 2011

Batt Editing

Although Harry is perfect, the rest of the world generally needs a little tweaking to rival his flawless stature. It's rare that I spin a batt right out of the bag--I usually add or subtract something, especially if I have a specific project in mind.

Harry thought it might be instructional for me to show his faithful readers how I edit a batt. According to him, I don't have any faithful readers, which instigated a shouting match (MORONIC BIPED!  HAIRY MIDGET OCTOPUS!, and so on). While we were hurling epithets at each other, Rambo kindly loaded the text and images into the blog and then proceeded to clean out the vegetable bin because nobody was paying any attention, and the lettuce was going to wilt soon, anyway.

Onwards to batts.
 
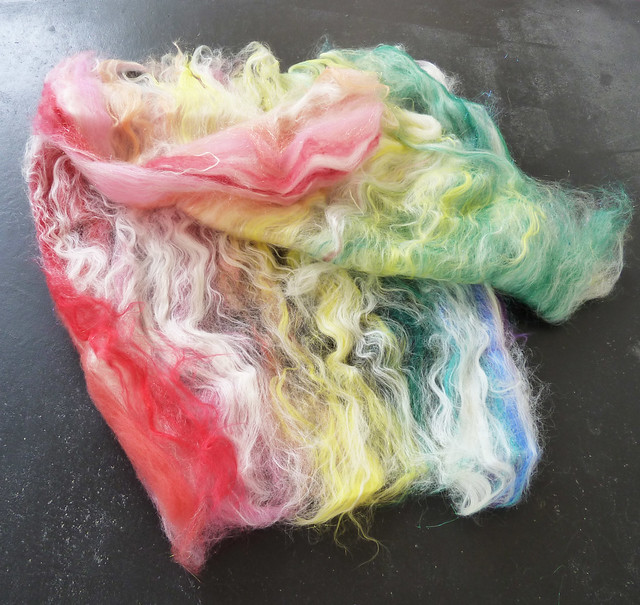
Let's take this lovely item from Lampyridae, euphoniously named Sarah Bejeweled. It's an eclectic mixture of  milk, bfl, silk, soy, merino, alpaca, and sari silk. but is very smooth, if a bit mussy. Notice the colors after the greens are kinda folded under...you can't see them in this picture.


If you've ever fooled around with batts, you've probably discovered that most of them are layered, and it's easy to separate the layers by gently pulling them apart. The blue and purple are peeking out on the bottom layer in this image:


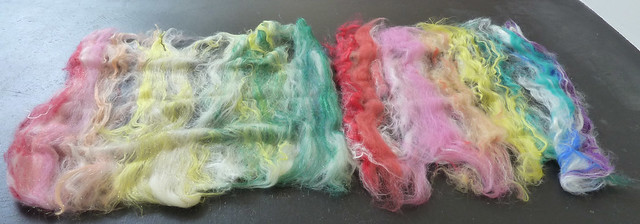
Here are two two layers, side by side.


Now to strip the batt into bite-sized pieces. I started on the left, coaxing each color transition into a little swathe.


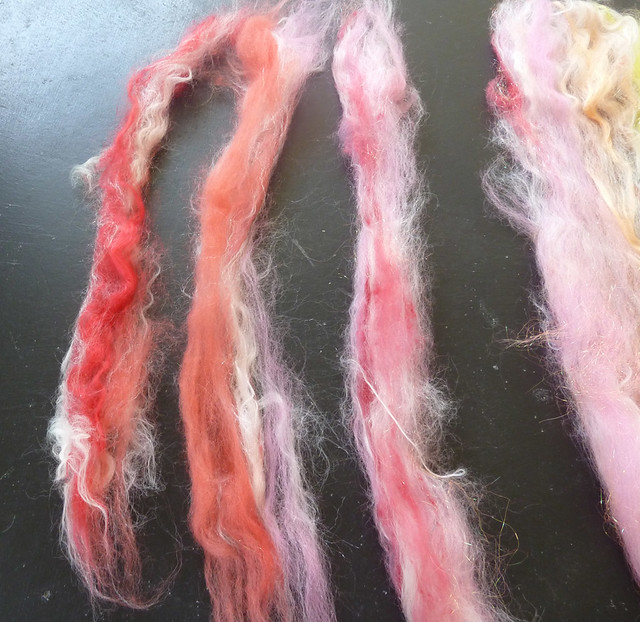
I took a bit of the next color, pink, into the second strip, and a little more pink in the third one--mixing the colors this way makes for smoother transitions.


Sometimes, when pulling off a strip, the wrong color crawls over....


It's easy to just peel it off and put it back where it belongs.


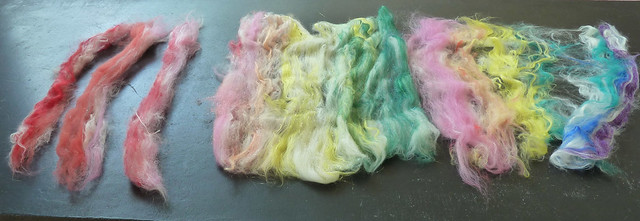
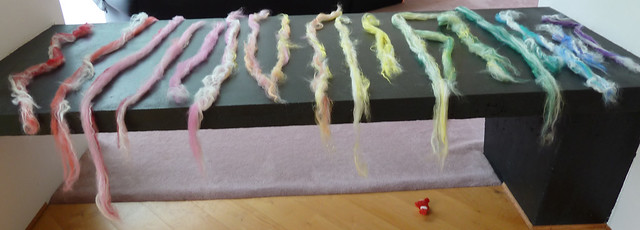
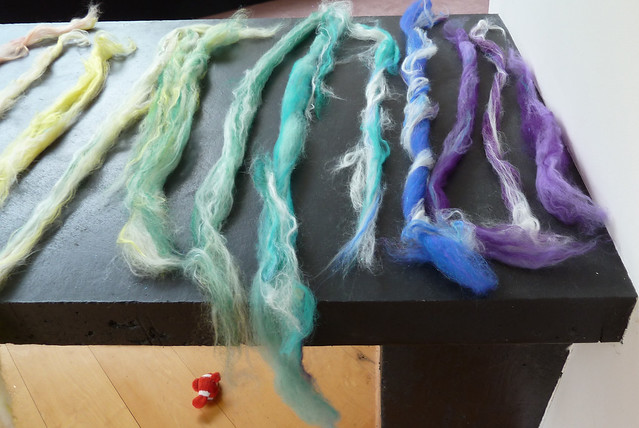
Here's what the deconstructed batt looks like now.


The next step is to do a little drafting. Although the batt is smooth, it has a fair amount of fibery locks lying on the surface. When you try to spin it them in, the loose bits can fall down or become folded over, creating a snarl. If you're spinning thick yarn, this fluffiness isn't a big problem, but for fine spinning, it's better to try and incorporate the little rogues into the main wad of fiber. And because I will be spinning fairly fine on a supported spindle, I want to loosen up the fiber, as well. Both of these tasks are done simply by gently pulling sections of the strip like this:


And here's the first attenuated strip. Notice there's some white fiber that refused to play nicely with the rest of the strip. I just inserted a few twists to keep it from running away.


Here and there, I found some bits of fiber that didn't belong, as well as a few nepps that would simply make a blob while spinning. I just  picked them off.


And we're almost finished. Notice the adorable cat toy...Laptop couldn't be with us today, due to a prior engagement, but she left a clownfish proxy for Harry's faithful readers to admire.


The transitions looks pretty good, but  the sequence is a bit lacking in blues and purples. Dipping into my batt stash, I found colors that would work, and added a few extra strips.


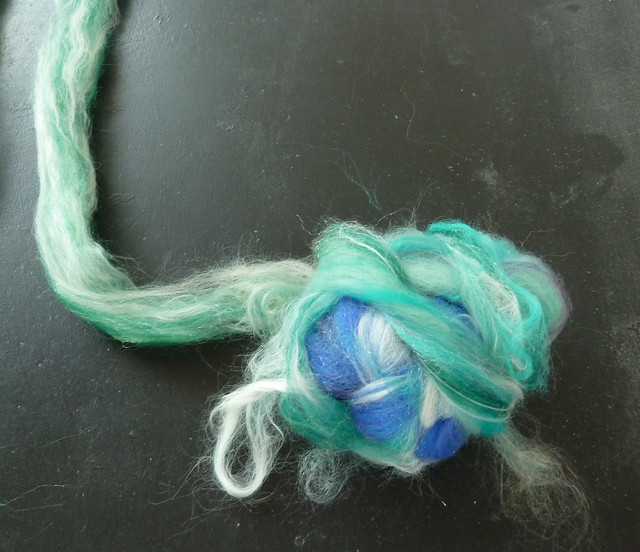
To  keep everything neat and tidy, I rolled up the strips, one after the other, into a squooshy ball...


And put it into a plastic bag. It's ready to go.


On another note, I report that over the course of the last few months, the occupants of the fleegle household endured three eye operations and two root canals, thus triggering our favorite floating holiday: Celebrate Something Random Day. To commemorate such occasions, we always have a cake, decorated especially for the occasion being celebrated. And so I present to you the Infamous Fleegle Eyeball and Teeth Cake of 2011. It was delicious!


And before you ask, Nancy, it's from the Country Bakery on 75 between Ingles and White County Jail. :)