Most commonly, you will encounter these snarky decreases if you are knitting garter-stitch lace in-the-round, for example, a borders-outward shawl in a single piece. To maintain garter stitch in the round, alternate rows must be purled (unless you are cheating and going to futz one corner so you can knit back and forth). And if you are knitting Shetland lace, there's probably no way you will escape having to work double purl decreases with no slant. Central double decreases abound in Shetland patterns.
After perusing my standard books, such as Barbara Walker's Charted Knitting Designs, and rejecting most of the solutions as kinda awkward, I fiddled around with a few different ways of accomplishing these dratted decreases. Some people hate purling through the back of stitches. Others don't find this uncomfortable. Please try all these methods and decide which one works best for you.
Left-Slanting Single Purl Decrease
The most common method is purling through the back of two stitches thusly:
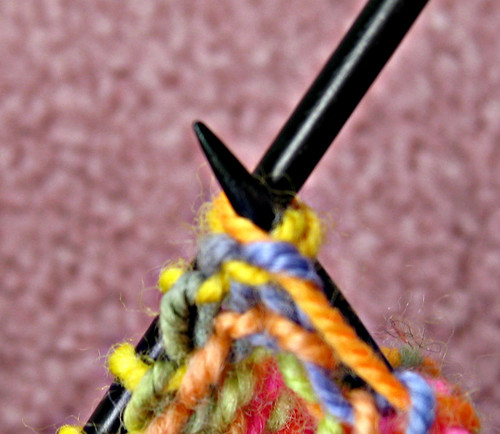
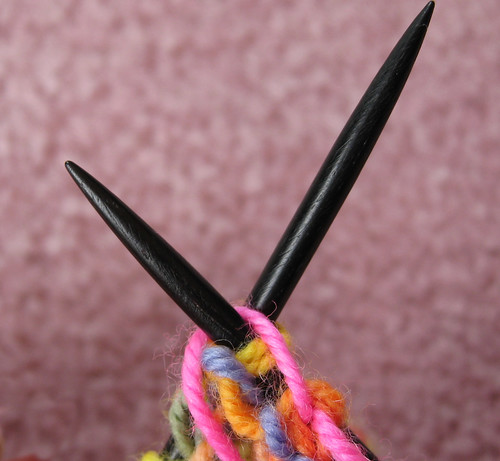
the finished stitch on the purl side:

And finished stitch on the knit side:

If you hate this process, then slip two stitches, one at a time, knitwise.
first stitch slipped...
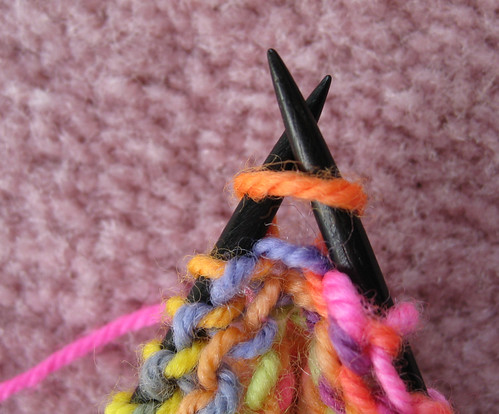
.... second stitch slipped.
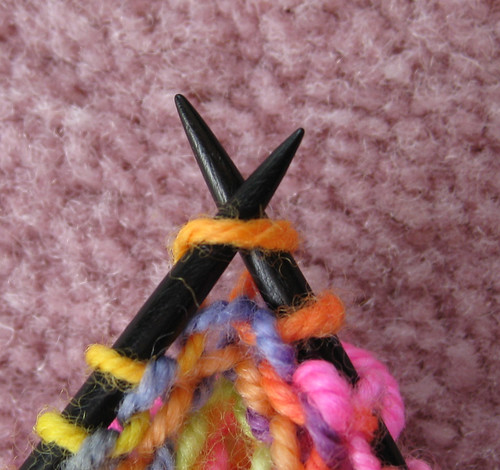
Then insert the tip of the left needle through the front of these two stitches (which are now on the right needle)...

and slip them back to the left needle as a unit. Notice that the stitches have switch positions.
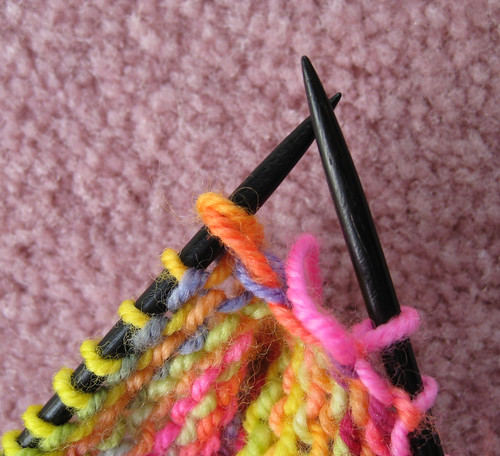
Purl these two stitches together.
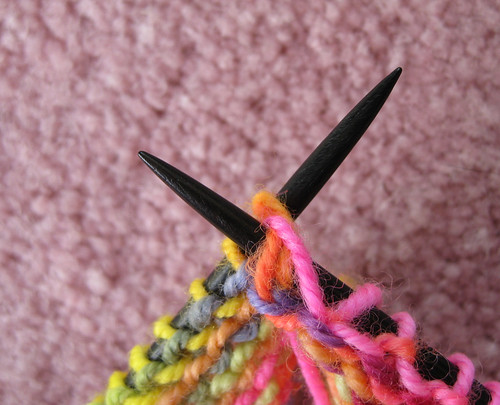
Here's the finished stitch on the purl side:
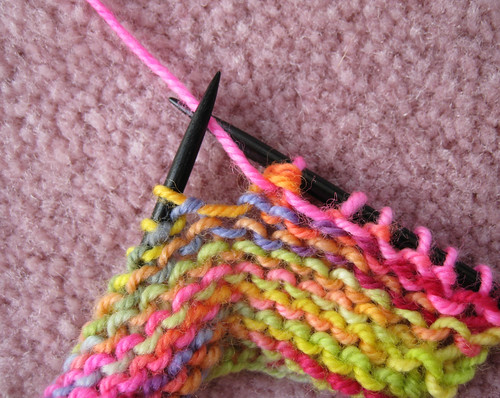
And here's the knit side:

The second method seems easier to me for purling together two stitches when one of them is a yarnover. But sometimes I just purl through the back. Which method I choose depends a great deal on the yarn--some yarns don't like the back stitch, some don't like the slip-and-flip business. Take your pick :)
Left-Slanting Double Purl Decrease
This is just an extension of the single decrease, but with added torment. No matter which method you use, the process is awful. My favorite method, not described here in detail, is to avoid patterns that require me to do this.
Anyway.
You can purl through the back of three stitches:
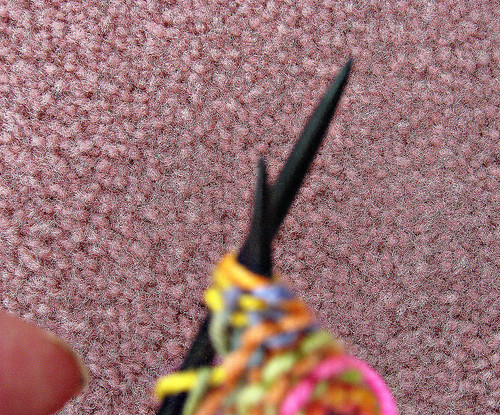

Here's what it looks like on the knit side:

Or, slip three stitches, one at a time, purlwise.
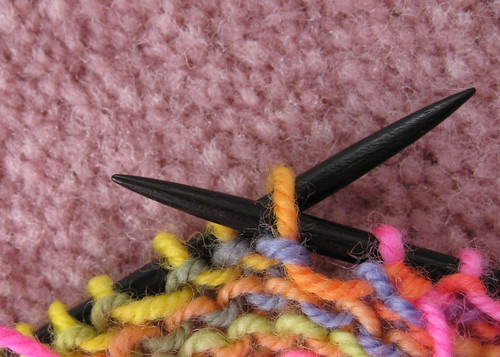
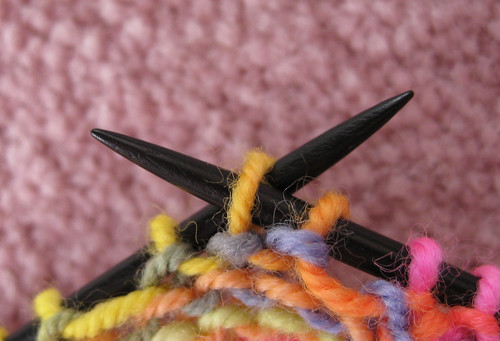

Then insert the tip of the left needle through the front of these three stitches (which are now on the right needle),
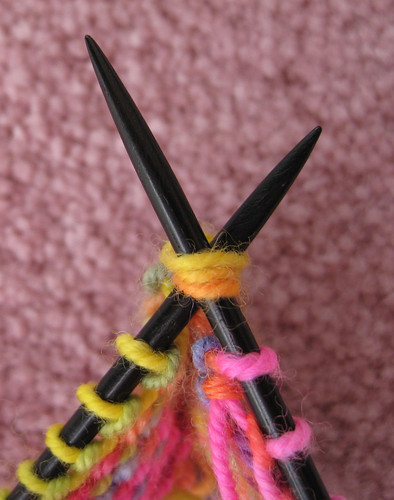
and slip them back to the left needle as a unit.
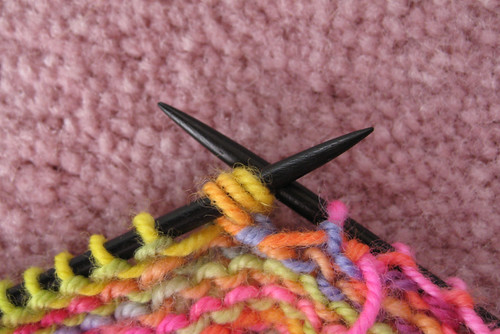
Then purl these three stitches together.

Here's the purl side:
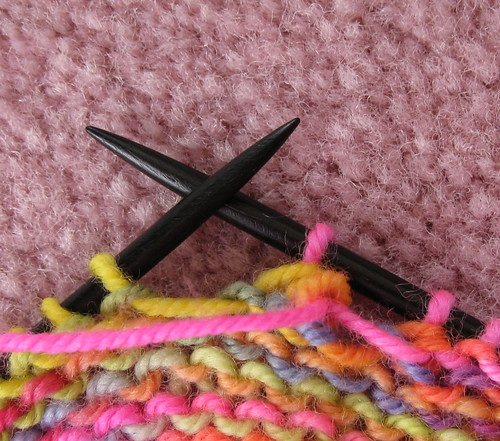
The he knit side looks the same as knitting 3 stitches together through the back loops as shown above, so I didn't take another photo.
Yet another method is described in the Walker book. Purl two stitches together. Keeping the yarn in front, put the stitch back on the left-hand needle. Pass the next stitch over this one, then transfer to the right-hand needle. I frankly don't care for the way it looks, but it's simpler to execute.
Double-Purl Decrease with No Slant (Central Double Purl Decrease)
This one is actually pretty easy. The literature I encountered had some wacky solutions; I think my answer is simpler. The first two steps are identical to the Left-Slanting Single Purl Decrease shown above.
Slip two stitches, one at a time, knitwise.
Then insert the tip of the left needle through the front of these two stitches (which are now on the right needle), and slip them back to the left needle as a unit.
Purl three stitches together (the two you slipped and flipped, plus one on the left-hand needle).

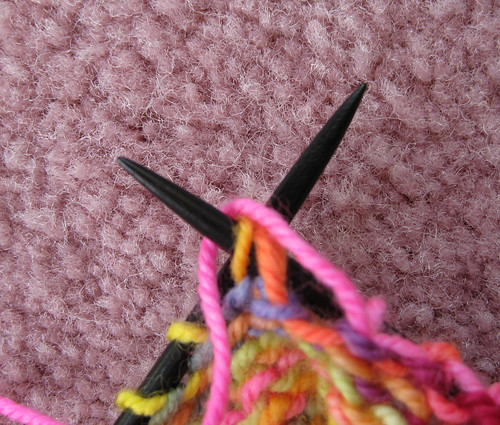
Here's the finished decrease on the purl side:

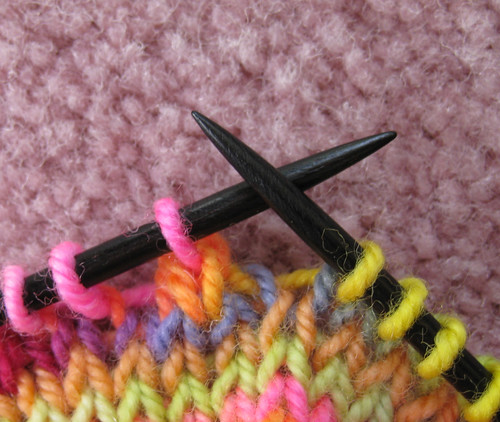
and the knit side:
Oh... Thank you so much for the tutorial. The needles look so beautiful in the photo.
ReplyDeleteThanks for taking the time and trouble photographing for us. Terrific tutorial.
ReplyDeleteGreat tutorial! I have a perverse love of purling things together through the back loop, but I will confess that it hurts my hands after a while. Maybe I'll try one of these methods the next time around.
ReplyDeleteGreat tutorial - I'll be pointing students here for sure. I hate shaping on the purl side, this may lure me in.
ReplyDeleteOooh, another great post. I'm bookmarking this one. Thanks!
ReplyDeleteas always a font of knowledge :o) thanks for the other methods as opposed to p2/3tbl... although I have to confess after doing so many socks p3tog tbl doesn't even make me blink anymore.... bit like Nupps... never looked backed since your tutorial on that subject :o)
ReplyDeleteThe double purl decrease with no slatn is simply brilliant, and should be known henceforth as "a Fleegle".
ReplyDeleteThat will be handy for my students, too. And I'd never figured out such a nice centered double purl decrease, so I am very grateful. I love your very clear choice of yarn and needles for the demo, too.
ReplyDeleteGreat tutorial! Thanks for sharing.
ReplyDeleteTHANK YOU! This is wonderful and was previously lacking in the many on-line tutorials. I will link to this post whenever these stitches come up. This is a great resource.
ReplyDeleteThe tutorial was interesting, but those lovely needles more so. What are they? I love dark woods.
ReplyDeletevery educational. i always wondered about this.
ReplyDeleteThanks so much for the great tutorial! Too bad I needed the info several months ago but I'll be ready next time. You are a gem!
ReplyDeleteVery nice tutorial. Thanks for putting it together!
ReplyDeleteI am having real brain boggler of a week, but I will remember this forhte next time I might need to do this, thanks! The needles are lovely. What are they made of?
ReplyDeleteWhat a delight! A knitting tutorial with the photos in perfect focus! Thanks
ReplyDeleteInstructions so clear and well photographed that even my dyslexic tendencies failed to obscure these wonderful instructions! Thanks for this great tutorial :-)
ReplyDeleteThis is a great tutorial!
ReplyDeleteThanks
Ohh, I like that centered purl decrease.
ReplyDeleteI like lace patterns with a simple 'resting row', but I've had to p2t through the back loop on several shawls already - I think the last one was Bee Fields maybe?
what an excellent tutorial!
ReplyDeleteI have bookmarked it as a reference post:)
Thank you SO MUCH for this! I'm doing a cap sleeve that required decreases on both the right and wrong side of the sleeve cap. I couldn't get it to look the same on both sides until I found this. YAY!
ReplyDeleteYou must be an engineering genius. Who else thinks like this? Only engineering geniuses and people who end up in asylums! ;) Purl decreases, your original heel method and your short row method, which I just swatched-- what's next? Fearless steeks?? Since I left-hand-mirror-knit, these decreases will be part of my standard purl, and 'knit back' decrease arsenal. Thanks, yet again.
ReplyDeleteSent from my totally pretentious iPad. V