I mostly love my iPad, but I wish someone would write the perfect knitting app. The iTunes store has quite a large handful--counters, project managers, books--but none of them is The Killer Knitting App. Recently, a new program appeared that would seem, from reading the PR, to fulfill my KKA requirements. Errrgh. It was expensive and clumsy to use, and a regrettable expenditure. I won't mention the name, lest I generate hate mail or lawsuits, so instead of whining about The-App-That-May-Not Be-Named, I'm going to show you how to use a program called iAnnotate to work with knitting patterns on an iPad.
Basically, iAnnotate lets you download, read, annotate, organize, and send PDF files. I think it's more flexible for PDFs than GoodReader, but it's also twice the price--$10 vs. $5. GoodReader's advantage is its ability to read multiple formats, so it can handle Word and Excel docs, as well as PDFs. GoodReader's tool set isn't as robust as iAnnotate's, though, so I prefer the latter to the former.
First of all, let's go get a PDF. iAnnotate has a built-in web browser that let's you:
- Convert a web page to a PDF and download it--useful for grabbing Knitty patterns
- Get patterns from DropBox
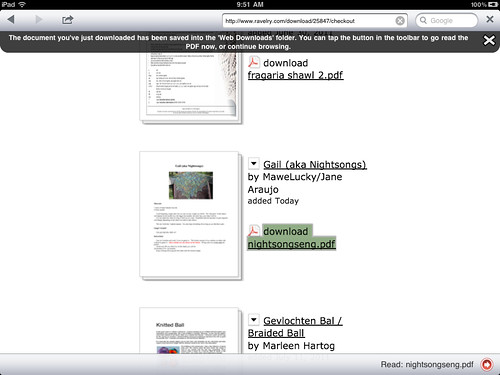
- Navigate to a PDF in your Ravelry library and download it directly
- Download patterns directly from your Ravelry library via WebDav (a protocol that allows collaboration between users and websites for editing and managing documents and files)
I clicked on the download link...
...closed the browser, and opened the file via iAnnotate's File Organizer screen.
iAnnotate supports multiple tabs, and more importantly, let's you duplicate tabs, so let's play with these. Click on the tab and you'll see a little bar underneath that shows buttons for tab management--Close, Navigator, Share, Duplicate, and so on.
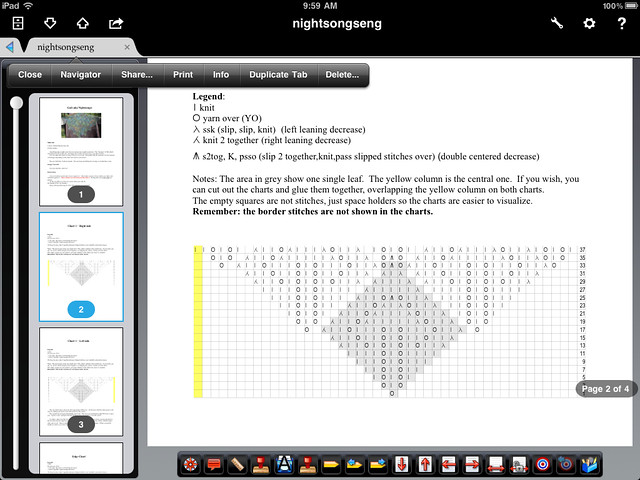
This pattern only has four pages and three charts, so I set up four tabs. The first tab is the intro text; the other three pages hold the charts. There were no surprises in the pattern's Stitch Key, so I didn't bother giving it a separate tab.
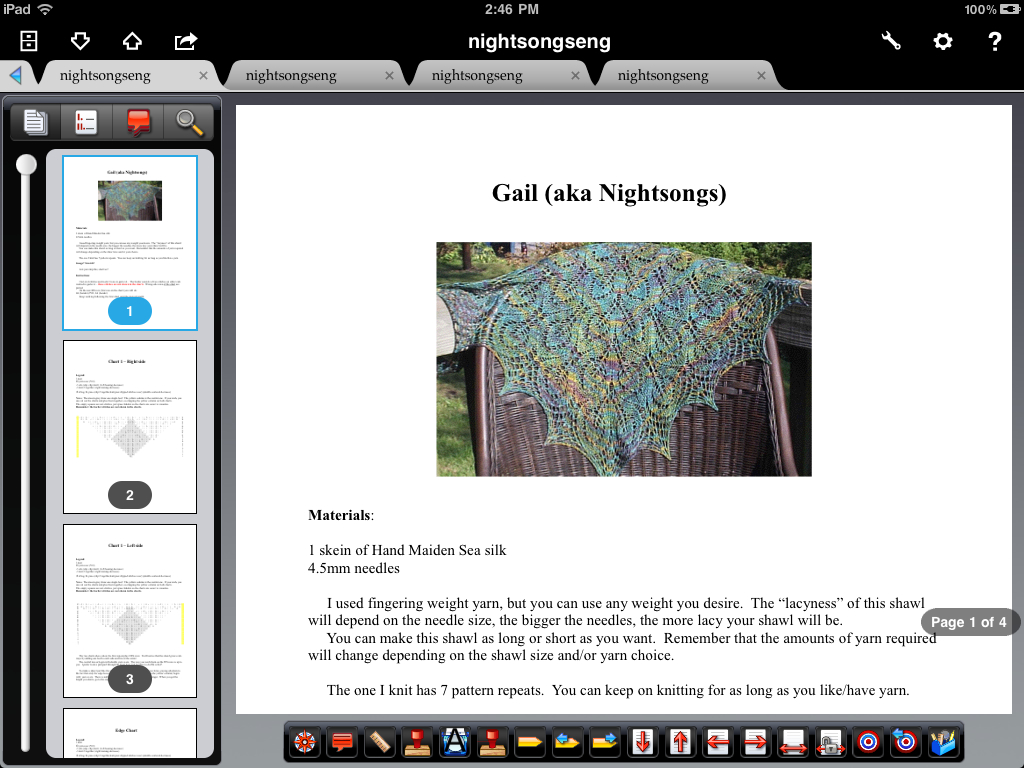
As you can see, there's a handy thumbnail panel on the left that can be collapsed when not needed. You can use the panel to whip through your document by page, bookmark, annotation, or outline, or use the toolbar buttons to navigate bookmarks and pages.
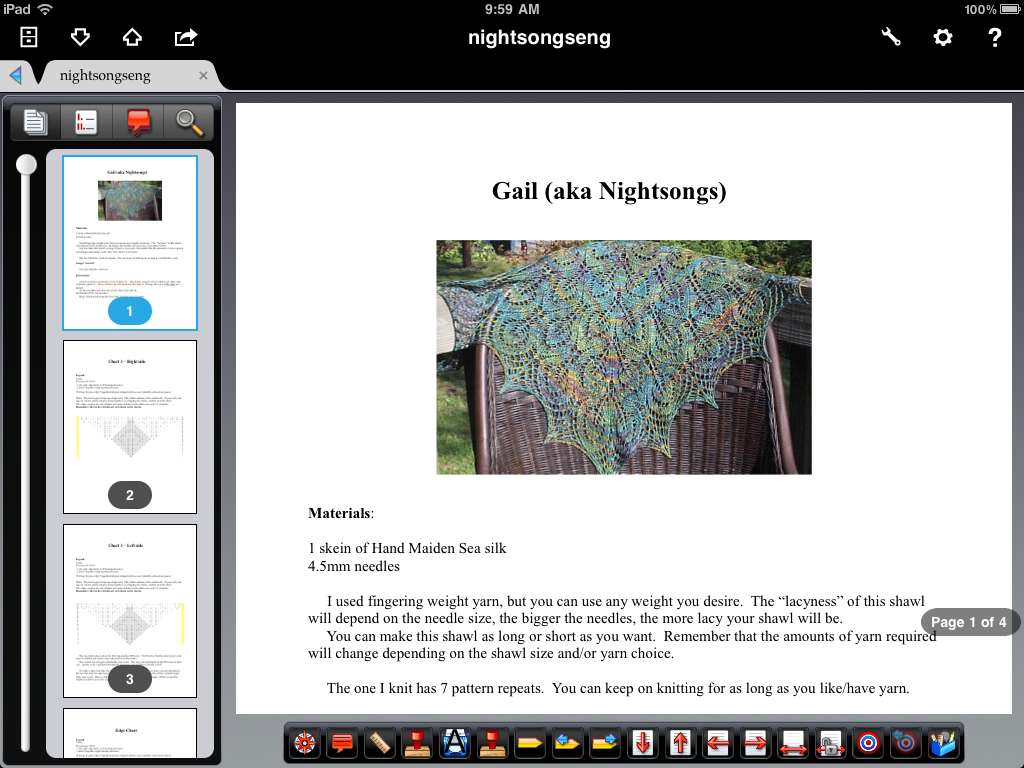
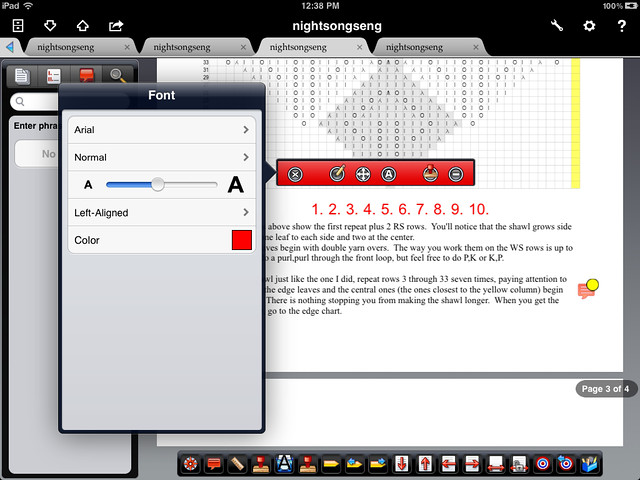
Given the name of the app. it's no surprise that there are lots of tools for annotation-- pen, highlighter, typewriter, stamps, notes, straight line, underline, strikethrough, photos, voice recording, and date stamp.You can easily customize your tools, for example, create a set of custom highlighters, import your own stamps (such as a signature), set a custom typewriter color and font, and convert an annotation into a stamp. The only thing missing is a rectangle; GoodReader has one and it's useful. Oh well.
One of the nicest features of iAnnotate is the configurable toolbars. the app has a rather overwhelming number of features, so I made a Knitting toolbar (shown at the bottom of the previous picture) that holds commands I use frequently: Note, Line, Stamp, Typewriter, Bookmark, and so on.You can easily drag and drop what you need into your toolbar, which can then be repositioned and resized as you see fit. You can have multiple toolbars on the page, for example, a set of navigation tools at the top and some highlighters on the bottom.
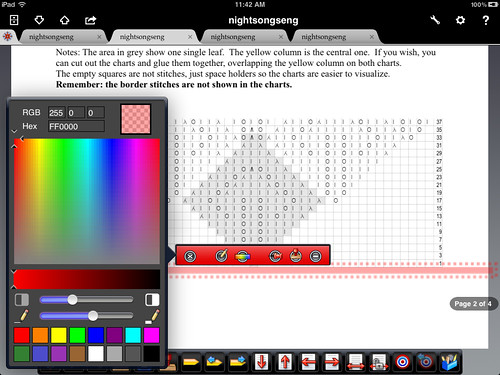
For some odd reason, you can only highlight text, not images. I like to use charts, so I made a highlighter line to pinpoint my place in the chart. I used the Line tool to draw a long line...
.
...then made it thicker and partially transparent.
You can make the annotation into a stamp if you like, but stamps can only be resized and rotated once in the library. Adjusting the highlight is easy--just tap and slide it to move it up and down.
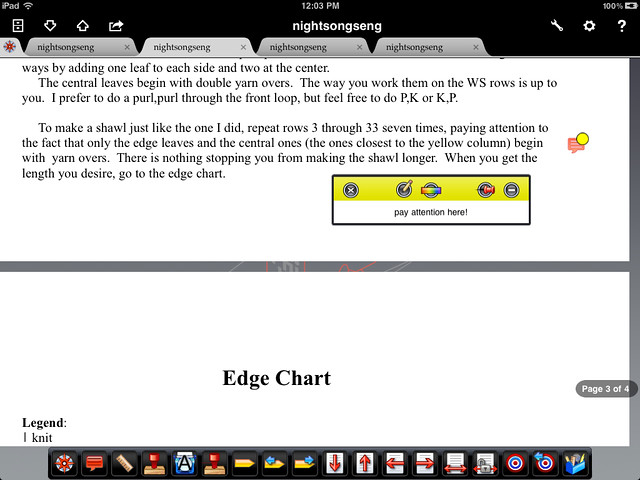
You can also add a text annotation to the highlight drawing. Notice the annotation can stay open and pinned to a specific place on the page.
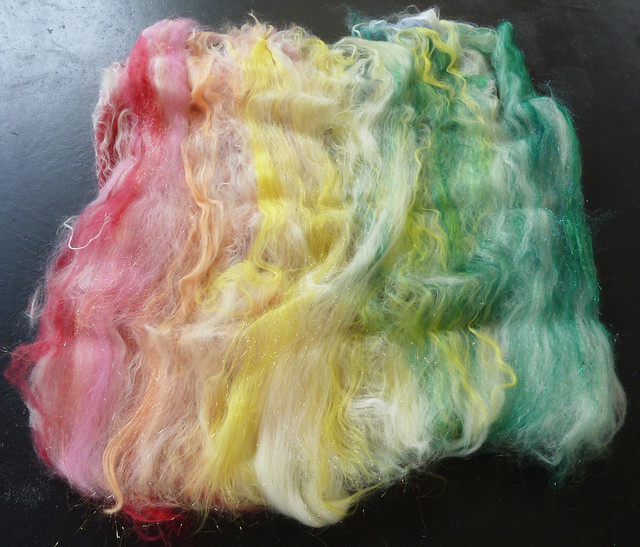
Similarly, you can highlight text, and add notes, sound recordings, or images as annotations. The latter is particularly useful if you need to refer to a knitted sample or suggested yarn.
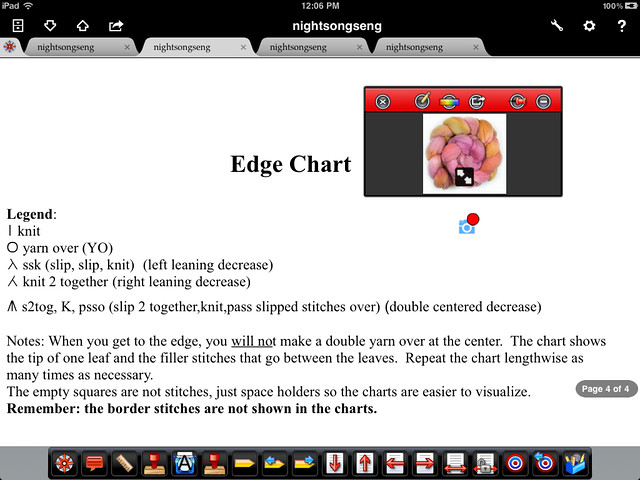
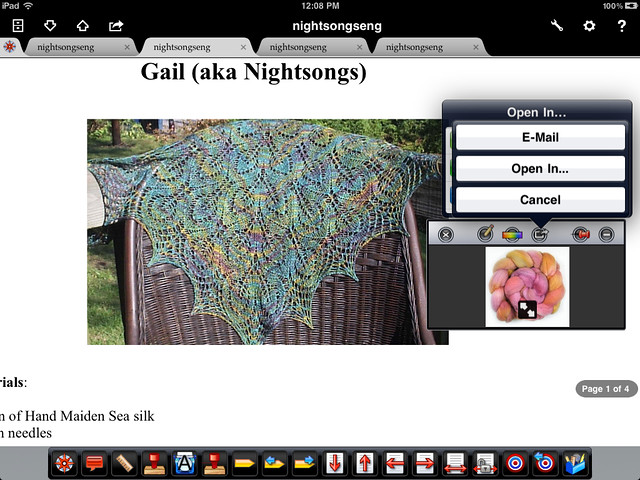
Photos may also be emailed right from iAnnotate...
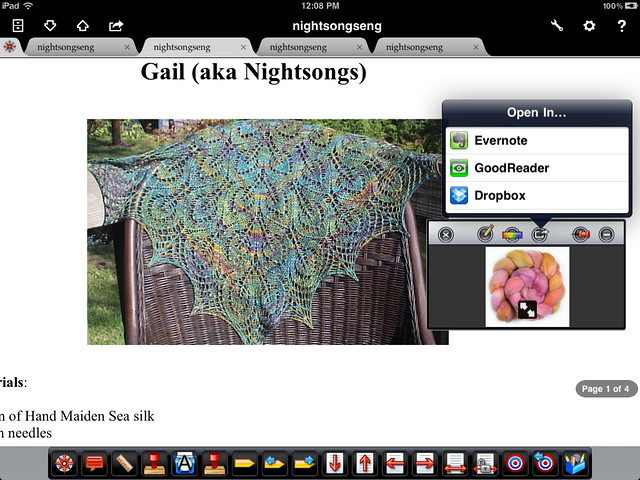
...or you can send the Photo to another program, such as DropBox.
There are several options for hopping around the PDF. I like the temporary Mark--it's a quick bookmark that holds only a single location. It's very useful for flipping back to a specific place, such as a text description, while you are studying a chart in another tab.

You can also set as many permanent bookmarks as you like, and these can be color-coded to indicate various sections of the pattern (or various testers):
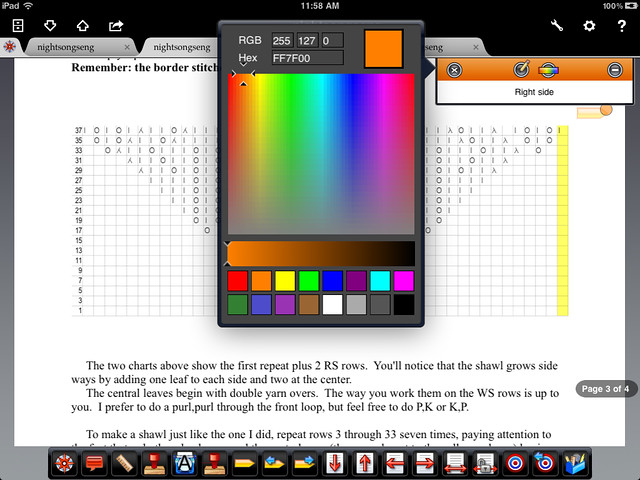
I have Next/Previous Bookmark tools in my toolbar, but if there are a lot of them, open the side panel and tap the desired bookmark.

Your notes, annotations, and drawings may be sent along with the file via email--convenient for test knitters who need to send information back to the designer:
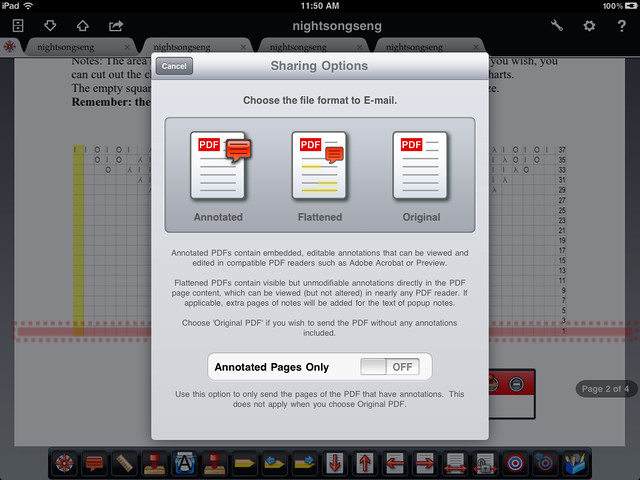
And if you're working on a KAL or test-driving a pattern, you can clip out a problem area of the PDF and send just that section:

As for stitch counters...well, there are a few things you can do to keep track:
- You can double-click click out of iAnnotate and switch to your counter app in the bottom tray...ugly, but workable.
- Use iAnnotate's Typewriter tool to type in numbers and the text editor to mark them in meaningful way.
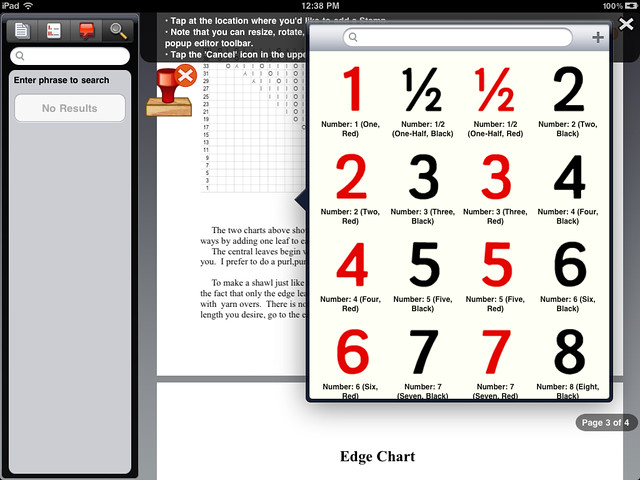
- Use one of the number stamps.
- Mark repeats on your hand with an indelible marker.
- Line up M&Ms in some predefined increment and eat one at the end of a row.
There are lots of other features in iAnnotate, not the least of which is the ability to rotate pages, add blank pages, and delete pages you don't need.
Printing from iAnnotate, like any other iPad app, depends on your accoutrements and pocketbook. There are any number of printing apps in the iTunes store--they run between $5 and $10. If you have an AirPrint-enabled printer (currently implemented on some HP printers), you can use that feature. Rather than invest money in a separate printing app, I just email the document to myself and print it from my laptop.
iAnnotate has a few silly quirks that I hope will be fixed in an update. You can only highlight text, and all knitting charts are images--the workaround is the Stamp--but it would be nice to be able to directly mark a stitch or row with a finger swipe. You can lock a page horizontally but not vertically. It's awfully easy to inadvertently tap the display and slide to another page. No biggie, but it would be helpful to be able to freeze the page.
Next time: The Attack of The Killer Tomatoes, right here in fleegleland!

